
Have you ever grilled chicken that turned out dry and bland? It’s a common frustration for many home cooks. But what if there was a simple way to ensure your chicken is juicy and packed with flavor every time you fire up the grill?
Key Takeaways
- Brining Enhances Flavor and Moisture: Soaking chicken in a saltwater solution helps retain moisture and infuses flavor, resulting in juicier grilled chicken.
- Optimal Brining Times: Different chicken cuts require varying brining lengths; for instance, boneless breasts should brine for 30 minutes to 1 hour, while a whole chicken can brine for 4 to 12 hours.
- Essential Brine Ingredients: A basic brine consists of cold water, kosher salt, sugar, and optional aromatics like garlic and herbs to enhance the taste.
- Grilling Tips: Preheat the grill, pat chicken dry after brining, and use an instant-read thermometer to ensure it cooks to an internal temperature of 165°F for best results.
- Experiment with Flavors: Incorporate spices, herbs, and alternative liquids (like cider or beer) in the brine for unique flavors, and consider finishing with a glaze for added taste.
- Resting is Crucial: Allow chicken to rest for 5–10 minutes after grilling to redistribute the juices, ensuring tenderness in every bite.
Understanding Brining
Brining is a simple method that enhances the flavor and moisture content of chicken. This technique involves soaking the chicken in a saltwater solution, which seasons and tenderizes the meat.
What Is Brining?
Brining consists of immersing your chicken in a mixture of water, salt, and sometimes sugar or spices. The salt in the brine penetrates the meat, allowing it to retain moisture during cooking. The process typically lasts from 30 minutes to 24 hours, depending on the size and type of chicken.
Benefits of Brining Chicken
Brining chicken offers several advantages:
- Increased Juiciness: The saltwater solution helps the chicken absorb and retain moisture, resulting in juicier meat after grilling.
- Improved Flavor: The brine infuses the chicken with flavor, enhancing the natural taste of the meat.
- Tenderization: Salt breaks down protein structures, making the chicken more tender and enjoyable to eat.
- Reduced Cooking Time: Well-brined chicken cooks more evenly, potentially shortening the overall grilling time.
By understanding brining and its benefits, you can elevate your grilling game and enjoy flavorful, juicy chicken each time.
How to Prepare the Brine
Preparing the brine is a crucial step for grilling juicy chicken. The right mix of ingredients ensures your chicken is flavorful and tender.
Recommended Products


FRESH SPICES, CLEAN INGREDIENTS - US made, gluten & MSG free, non-GMO certified, no soy, no additives, paleo and keto friendly, vegan parve.

Imported from Australia
Essential Ingredients for Brine
- Water: Use cold water as the base. A gallon provides a good amount for soaking most chicken sizes.
- Salt: Use kosher salt or sea salt. They’re ideal for dissolving and imparting flavor. A ratio of 1 cup of salt per gallon of water works well.
- Sugar: Brown sugar or white sugar adds sweetness and balances the saltiness. Use about ½ cup per gallon.
- Aromatics: Add flavor with garlic cloves, black peppercorns, bay leaves, or herbs like thyme and rosemary. Experiment with quantities based on preference.
- Optional Add-ins: Consider including citrus slices, soy sauce, or vinegar for an extra punch of flavor.
Basic Brine Recipe
To make a simple brine:
- Combine Ingredients: Mix 1 gallon of cold water, 1 cup of kosher salt, and ½ cup of sugar in a large pot.
- Add Aromatics: Stir in 4 crushed garlic cloves, 1 tablespoon of black peppercorns, and 2-3 bay leaves.
- Heat (Optional): Heat the mixture over medium heat until the salt and sugar dissolve. Allow it to cool completely.
- Chill: Use ice or refrigerate the brine until it’s cold before adding chicken.
- Submerge Chicken: Place the chicken in a container and pour the cool brine over it, ensuring it’s fully submerged. Seal the container.
- Brining Time: Let it brine for at least 30 minutes or up to 24 hours, depending on the chicken size.
Following these steps makes brining simple and effective for delicious results on the grill.
Steps to Brine Chicken
Brining chicken enhances its flavor and moisture, making your grilled chicken tender and juicy. Follow these steps to brine chicken effectively.
Recommended Products

22 and 8 quart Brine Containers. Design resolves the #1 challenge to successful brining: floating food! Keeps food fully submerged for consistent, flavorful results every time.
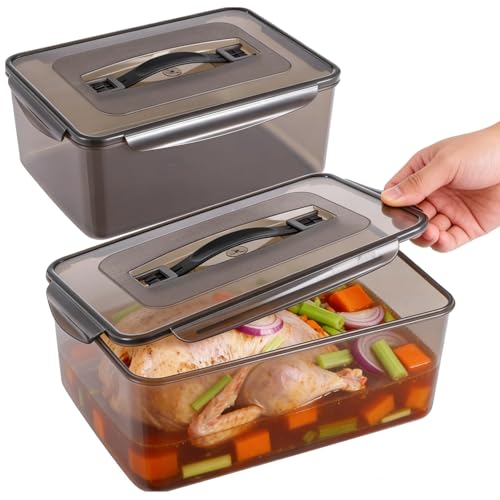
Generous Set: Includes two food storage containers; sizes 14x9.8x5.7 in and 12.4x8.9x5 in (12.5 & 8.3 Quart); easily accommodates whole turkey, fresh produce, bread, desserts, and more; ideal for marinating meats or storing foods

AUTHENTIC ORIGINAL CHICKEN INJECTION & BRINE: Our secret combination of ingredients capture the true taste of Memphis-style championship BBQ with the perfect balance of sweet & heat to take your BBQ to the next level.
Choosing the Right Chicken Cuts
Choose chicken cuts based on your grilling preference.
- Breasts: Boneless, skinless breasts offer convenience but can dry out easily. Brining helps maintain moisture.
- Thighs: Juicier and more flavorful than breasts, thighs benefit greatly from brining.
- Wings: With their rich flavor, wings become even more delicious when brined.
- Whole Chicken: If you’re grilling a whole chicken, brining ensures even seasoning and moisture throughout.
Selecting the right cut can impact cooking time and flavor, so pick what suits your dish best.
Brining Time Guidelines
Brining time varies with the size and type of chicken cut. Here are general guidelines:
- Boneless Chicken Breasts: Brine for 30 minutes to 1 hour.
- Bone-in Breasts: Brine for 1 to 2 hours.
- Thighs and Drumsticks: Brine for 1 to 3 hours for optimal flavor and moisture.
- Wings: Brine for 30 minutes to 1 hour.
- Whole Chicken: Brine for 4 to 12 hours, depending on size.
Avoid over-brining, as it can lead to overly salty chicken. Start with shorter times, and adjust based on your taste preferences.
Tips for Grilling Brined Chicken
Grilling brined chicken can elevate your dish, enhancing both flavor and moisture. Follow these tips for the best results.
Recommended Products
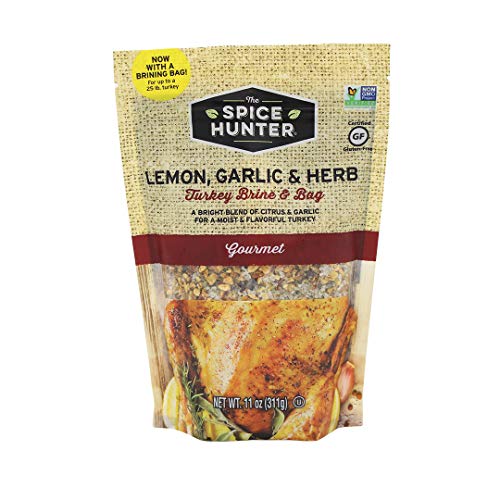
Turkey Brine, Lemon, Garlic & Herb | Natural | Kosher Certified
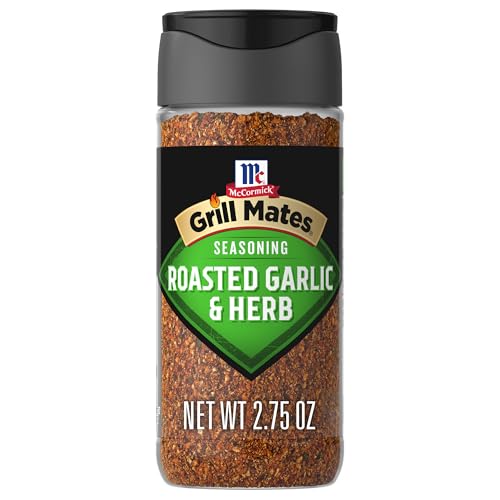
Epic blend of onion, parsley, black pepper, coriander and roasted garlic

Epic blend of onion, parsley, black pepper, coriander and roasted garlic
Ideal Grilling Techniques
- Preheat your grill to medium-high heat. This ensures an even cook and prevents sticking.
- Remove the chicken from the brine and pat it dry. This step creates a crispy exterior.
- Oil the grill grates lightly to prevent sticking. Use a paper towel dipped in oil and tongs to apply.
- Start grilling the chicken skin-side down if applicable. This maximizes flavor and minimizes flare-ups.
- Flip the chicken only once. This practice promotes a nice sear and keeps the juices inside.
- Use an instant-read thermometer to check for doneness. Aim for an internal temperature of 165°F.
- Let the chicken rest for 5–10 minutes post-grilling. This allows juices to redistribute, resulting in tender meat.
- Experiment with marinades along with brining. Use citrus, vinegar, or herbs for additional flavor.
- Add spices or herbs to the brine. Examples include smoked paprika, thyme, or rosemary for depth.
- Try brining with liquids besides water, such as beer or apple juice. These can impart unique flavors.
- Incorporate garlic or onion powder into your dry spice rub. This will boost overall taste.
- Finish grilling with a glaze or sauce. Think barbecue sauce, teriyaki, or a yogurt-based dressing for a fresh twist.
By following these tips, you’ll ensure your brined chicken turns out flavorful and juicy every time you grill.
Conclusion
Brining chicken before grilling is a game changer for anyone looking to elevate their cooking. You’ll find that a simple soak in a flavorful brine can make all the difference in achieving that juicy and tender result you crave.
With just a few ingredients and a bit of time, you can transform ordinary chicken into a mouthwatering masterpiece. Don’t hesitate to experiment with different flavors and techniques to make it your own.
So next time you fire up the grill, remember the power of brining. Your taste buds will thank you for it!
Frequently Asked Questions
What is brining, and how does it help chicken?
Brining is the process of soaking chicken in a saltwater solution to enhance its flavor and moisture. This method tenderizes the meat, making it juicier and more flavorful, reducing cooking time. It’s an effective solution for grilling chicken that tends to be dry.
How long should I brine chicken?
Brining times vary based on the chicken cut. For boneless breasts, 30 minutes to 1 hour is ideal, while thighs can soak for 1 to 2 hours. Whole chickens may need 6 to 24 hours. Be careful not to over-brine, as it can make the chicken too salty.
What ingredients are needed for a basic brine?
A basic brine requires cold water, kosher or sea salt, sugar, and aromatics like garlic, black peppercorns, and bay leaves. These ingredients work together to enhance flavor and moisture, making your grilled chicken delicious.
How do I prepare a brine for chicken?
To prepare a brine, mix cold water with kosher salt and sugar, adding desired aromatics. Optionally, heat this mixture to dissolve the salt and sugar, then cool it before submerging the chicken. Ensure the chicken is fully submerged for effective brining.
What cuts of chicken are best for brining?
Brining works well on various cuts, including boneless breasts, thighs, wings, and whole chickens. Each cut benefits from increased flavor and moisture, making them ideal for grilling.
Can I add additional flavors to my brine?
Absolutely! You can experiment by adding spices, herbs, or citrus to your brine. This not only enhances the flavor profile of your chicken but also allows for unique and personalized grilling experiences.
What are some tips for grilling brined chicken?
Key tips include preheating the grill, patting the chicken dry after brining, lightly oiling the grill grates, and grilling skin-side down first. Flip the chicken only once for a better sear, and use an instant-read thermometer to check for doneness at 165°F.
Should I let brined chicken rest before serving?
Yes, letting the grilled chicken rest for a few minutes is important. Resting allows the juices to redistribute, ensuring that the meat remains moist and flavorful when you cut into it.